Halooooo!
I am here to show you how to make a window in the front of your card.
I use this to show off fun little images, or punch art
(as you have seen in the last two posts).
Now, a disclaimer: Any stress induced by the sight of my messy desk
is in no way to be blamed on me! I can't help it! It just happens!
If you have been to my
Facebook page,
you have seen firsthand the crazy fallout. . .
This is me apologizing in advance!
If I waited for it to be clean to take photos??
Nothing would get done!
Here goes. . . .
To start, I determine where I want the opening to be on the front of my card.
In this case, I just set a punched circle with
the Ghost adhered to it on the
front of my card and moved it around until I had an idea of where I wanted it.
Right about here. . . .
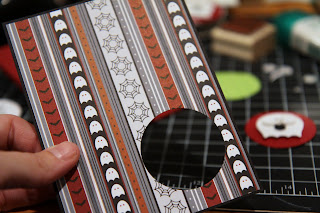
It is okay to punch your cardstock with a layer
of
Designer Series Paper on it.
Two layers of cardstock?
No No!
Don't do it, girlfriend. Bad for your tools!
So what now?? Here is what I do:
Using the same punch as the original opening on the card front,
punch a hole from a post-it note.
Be sure to punch part of the sticky strip on the back!

Place your cardfront onto the card base.
Please don't adhere it with permanent adhesive!
I used dotto, so I could hold it up/check it out/take it back off when I want.
Once you have it just where you want it. . . .

Take your sticky note, and put it in the opening.
Give it a little rub for luck.
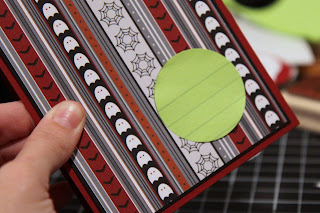
At this point, because you have NOT used permanent adhesive,
you should be able to pull off your front layer with ease.
I keep my thumb on that post-it so it doesn't move while I pull the layer off.
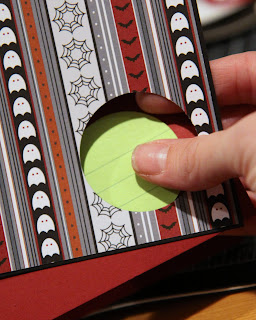
There it is, just telling you what to do!
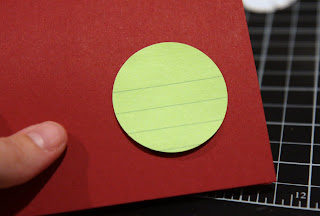
You should be able to carefully move your punch over it
so you can make a perfectly lined up opening.
Try not to knock it off while getting the punch in place. . .
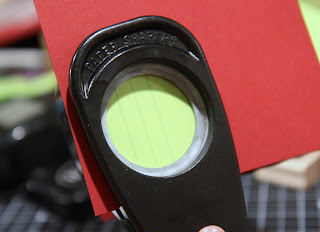
Peek-a-boo!
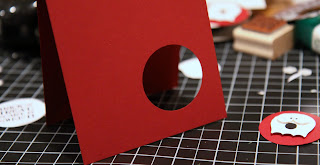
You are all set to use permanent adhesive now! LOL
For my card, I then punched a black circle and
glued it down right thru the opening so it would be in just the right spot.
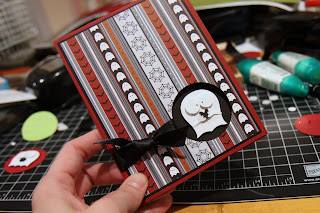
I had that little ghost set down on my desk, sticky side up. . . .
Took me a while to find him!
He was stuck to my Stazon lid. . .
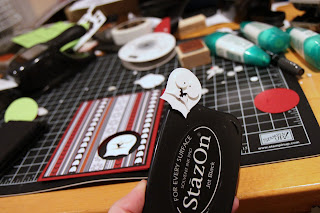
The little stinker!
Hopefully that was helpful for those of you who may not
have made a card like this before. Easy and fun!
You can also use a punched post-it to find the perfect placement for your
front layer. Just stick it where you like it best and punch!
Another example of a window card-same layout/different image,
can be found
here. The difference being, I used a smaller opening.
Not revealing the entire image can be fun! Keeps 'em guessing :)
Are these tutorials okay? Too many pictures? Too few? Too wordy?
I am new at this and would like to make sure that everything is clear
and would appreciate any feedback or suggestions you may have!
Thanks :)


